MIPI DSI Bring-Up on a 0.49-Inch 1920x1080 Micro OLED: Lane Budget, Init Order, First Light
Getting a 0.49-inch 1920x1080 Micro OLED to show a picture over MIPI DSI is a link-and-sequence problem long before it is an image-quality problem. The panel sits behind a high-speed differential link, so the host has to configure lane count and lane rate, wake the display with an ordered init script, and then hold a frame pipeline that can sustain a 90 Hz refresh. When bring-up stalls, the cause is almost always power sequencing, PHY timing, or a missing init write rather than the pixel data itself. Budget the link and write down the init order before a single line of display driver code is typed.
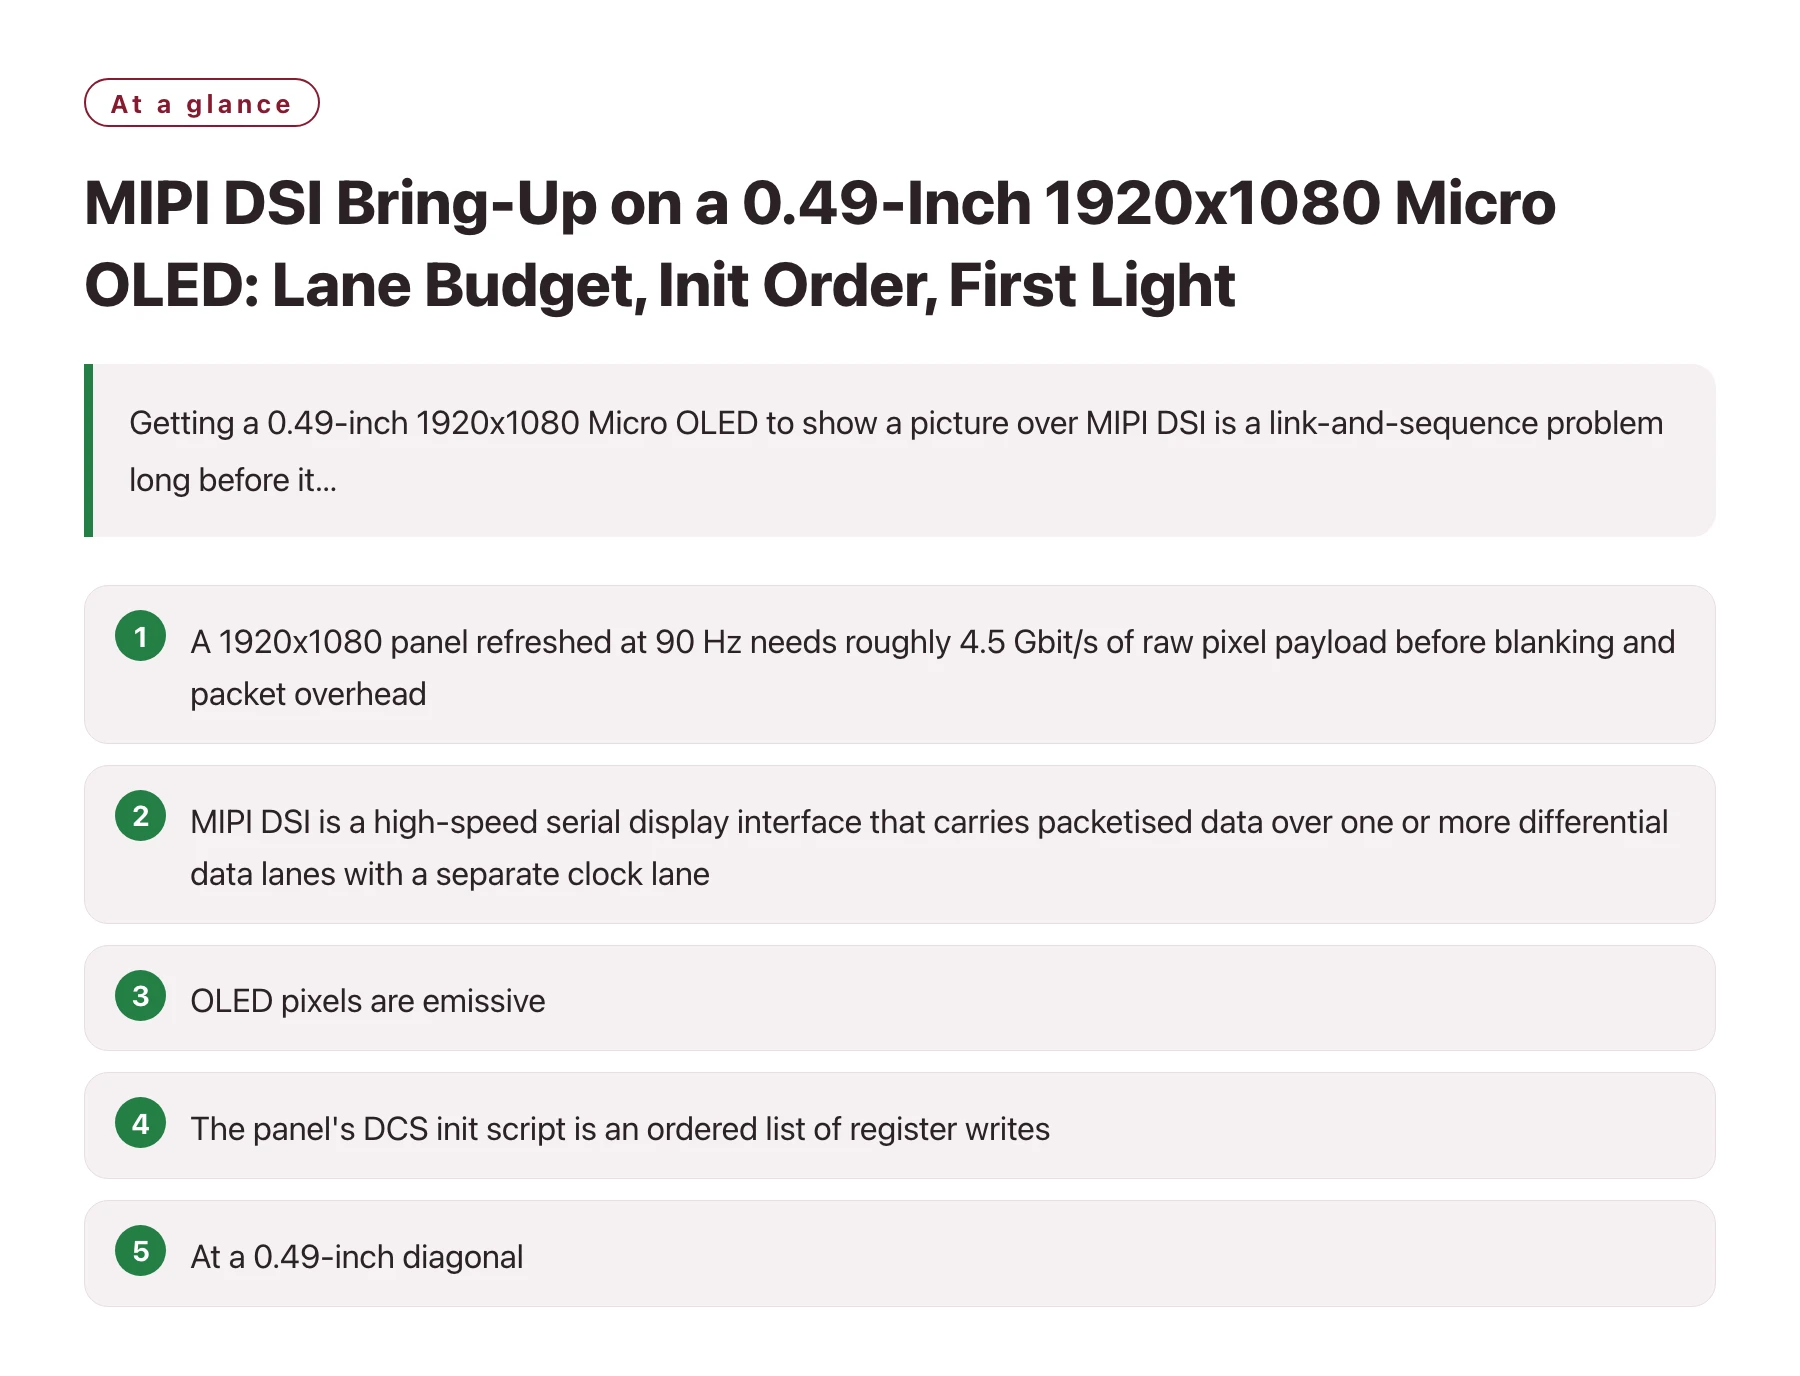
Key takeaways
- A 1920x1080 panel refreshed at 90 Hz needs roughly 4.5 Gbit/s of raw pixel payload before blanking and packet overhead, so lane count and per-lane rate have to be chosen from that figure instead of guessed.
- MIPI DSI is a high-speed serial display interface that carries packetised data over one or more differential data lanes with a separate clock lane, which means the host PHY, the flex cable and the panel receiver must all be qualified for the same lane rate.
- OLED pixels are emissive, so black is produced by switching the emitters off rather than by blocking a backlight, and the deep black that near-eye viewers rely on comes from the panel and its driver rather than from anything in the optical stack. [3]
- The panel's DCS init script is an ordered list of register writes, and executing it out of order or before the supplies are stable typically leaves a dark panel sitting behind a link that reports no errors at all.
- At a 0.49-inch diagonal, 1920x1080 works out to roughly 4,500 pixels per inch, dense enough that any scaling, sub-sampling or colour truncation in the pipeline becomes visible as softness before it becomes visible as an error. [2]
Engineers who have only brought up SPI or parallel panels are usually surprised by how little of a MIPI bring-up is about pixels. There is no continuously running pixel clock to probe and no simple chip-select to wiggle; there is a link that either trains and decodes packets or stays silent, and a panel that will not emit anything until it has been told, in order, that it may. The work splits cleanly into three parts: prove the link, execute the init sequence, then earn stable frames.
The module in question is a 0.49-inch Micro OLEDoS display at 1920x1080 with a MIPI interface, specified at 1800 nits, a 90 Hz refresh rate and a 50,000:1 contrast ratio, and described as low power consumption. Those numbers pull in two directions in a headset. The brightness and contrast are what make a near-eye image readable against a bright environment, while the small diagonal and the refresh rate are what make the host's timing budget tight.
This article walks the host side of that bring-up: how to size the link, which host families can actually drive it, the order of operations that produces first light, and how to read the failure modes that keep a panel dark or unstable. The last section deals with the stereo case, because a VR headset doubles every one of these problems and then adds synchronisation on top.
What the DSI link asks of the host before pixels matter
DSI is not a parallel pixel bus. Data travels as packets over one or more high-speed differential data lanes, with a separate clock lane, and the link drops back into a low-power state between bursts. [1] That structure is what makes a MIPI panel fast and efficient, and it is also why bring-up fails in ways an SPI panel never does: there is no pixel clock to probe, only a link that either decodes or stays quiet.
Do the arithmetic before choosing a host. A 1920x1080 frame at 24 bits per pixel is about 49.8 Mbit, and at 90 Hz that becomes roughly 4.5 Gbit/s of raw payload. Blanking intervals and packet headers push the real link rate higher, so a two-lane configuration has to run each lane near the top of its range while four lanes leave genuine headroom. That single calculation usually narrows the host shortlist to one or two candidates.
Video mode and command mode are the next fork. In video mode the host streams pixels continuously and the panel follows the host's timing; in command mode the host writes into the panel's frame memory at its own pace and the panel scans out independently. Command mode is far more forgiving when the same processor is also running tracking or audio, because a late write costs a frame of latency instead of a corrupted line.
A bring-up order that reaches first light without guesswork
- Prove the supplies and the reset timing first. Bring up every rail the module needs, then release reset and confirm the panel's own regulated outputs are stable before any DSI traffic starts. A silent panel is more often a sequencing fault than a link fault.
- Configure the PHY before the pixel format. Set lane count, per-lane bit rate and the timing parameters the host PHY exposes, then verify that the high-speed clock lane locks. If you cannot read back a locked lane, no init script will rescue the panel.
- Send the DCS init script verbatim and in order. Sleep-out, then the panel-specific register block, then display-on. Keep the supplier's ordering; reordering writes to tidy up the script is a reliable way to lose a panel that worked perfectly on someone else's bench.
- Start with a flat field, not an image. A full-screen mid-grey or single-colour field removes the image pipeline from the problem. Once a colour field is stable and uniform, the remaining faults live in scaling, colour depth or frame timing.
- Add frame synchronisation, then measure tearing. Enable the panel's tearing-effect signal or its equivalent and align frame writes to it. Only then load real content, because tearing and colour banding are easily mistaken for content bugs.
If the init step fails, re-read the script against the supplier's timing table before touching PHY settings you already proved.
Which host families can actually drive a MIPI panel
The first question about a candidate host is not how fast it is, but whether it has a DSI controller at all. Plenty of popular development boards have no MIPI host peripheral, and no amount of driver work changes that. The three families below cover almost every prototype that reaches a bench.
On single-board Linux computers in the Raspberry Pi family, the DSI connector is intended for a particular panel class and carries a fixed lane count on the flex. [4] Driving a different panel means either matching that lane count and supplying a panel driver with the right mode and init sequence, or accepting an adapter board in the middle. The payoff is that the display stack, the framebuffer and the tooling already exist.
On MCU-class hosts the constraint moves to memory. Some STM32 parts include a DSI host, and the ESP32-P4 adds a MIPI DSI peripheral where the original ESP32 has none. A 1920x1080 frame at 24 bits per pixel needs roughly 6 MB of buffer, far beyond internal SRAM, so you either add external PSRAM, reduce colour depth, or lean on command mode and let the panel hold the frame instead of the host.
Classic Arduino boards have no DSI path at all, so the practical route is a bridge or controller board that turns a slower host interface into a MIPI stream. Vendors such as TI and ST publish bridge parts aimed at exactly this job. That approach adds a component, a rail and a configuration step, but it preserves a familiar toolchain, which makes it a sensible demonstrator and a questionable choice for a headset where every gram and milliwatt is budgeted.
Reading a MIPI panel that stays dark or misbehaves
| Symptom on the bench | Most likely cause | What to measure next |
|---|---|---|
| Panel is completely dark and the link reports no errors | Init script never ran, or ran before the panel supplies were stable | Probe the panel rail and the reset line, then replay the init sequence with a capture on the DSI lines |
| Link errors appear the moment the clock lane starts | Lane rate set above what the host PHY, the flex or the panel receiver supports | Compare the configured bit rate with the panel's maximum, then shorten or re-route the flex |
| Image appears but rolls or tears horizontally | Frame writes are not aligned to the panel's own refresh | Scope the tearing-effect signal and check whether frame start lands inside the panel's scan window |
| Colour is wrong, banded across a ramp, or clipped at the top end | Pixel format or colour depth mismatch between host and panel | Confirm packed versus unpacked format and the bit depth at both ends before touching any correction table |
| Left and right eye disagree by a few lines | The two panels were initialised with different timing or started at different moments | Diff the two init scripts and the two link parameter sets byte for byte |
Two eyes, one frame budget, two fragile links
A 90 Hz panel presents a new frame every 11.1 ms, and in a stereo headset that budget covers both eyes. Nothing in the chain can take a holiday: decode, distortion correction, panel state and the DSI write all have to finish inside the window. A host that cannot commit a complete frame before the panel begins scanning does not drop a frame so much as tear one, and tearing is far more visible in a headset than on a desk.
Synchronisation is the part that catches teams out. Where the host offers two links, drive both from one clock domain and align frame writes to the tearing-effect signal instead of a free-running timer. Where that is impossible, treat one eye as master and phase the other to it, then quantify the residual offset with a moving test pattern rather than trusting the timing table.
Mechanically, the link is the fragile element. In a headset the driver board often sits behind the lens assembly or in a rear pod, so the DSI flex is longer and thinner than a bench cable, and a longer flex means a worse eye diagram at the same bit rate. Keep the reach short, keep ground returns generous, and treat any increase in lane rate as a change that invalidates the cable already qualified. Modules in this class, such as the 0.49-inch 1920x1080 MIPI Micro OLED from DisplayModule, are normally supplied with the init script and the timing table the panel was characterised against, and those two documents are what turn the flex decision into an engineering comparison instead of a hope.
Capture the link once and keep the capture. A protocol trace of a working DSI burst, stored beside the exact init script bytes that produced it, turns every later problem into a comparison rather than a fresh experiment. Teams that skip that step spend their second week re-deriving their first week's settings, usually while also absorbing a mechanical change that invalidated them.
Sources
Frequently asked questions
Can a classic Arduino board drive a 0.49-inch 1920x1080 MIPI Micro OLED directly?
No, because those boards have no DSI host peripheral and no practical way to generate a multi-gigabit serial link. The realistic route is a bridge or controller board that accepts a slower interface from the Arduino and produces the MIPI stream itself. That keeps the toolchain familiar but adds a component, a rail and its own configuration step.
How do I choose the lane count and bit rate for this panel?
Start from the payload rather than the marketing figure. A 1920x1080 frame at 24 bits per pixel refreshed at 90 Hz is roughly 4.5 Gbit/s before blanking and packet overhead, so two lanes must run near the top of their range while four lanes leave headroom for a longer flex and a cheaper receiver. Then confirm the panel, the host PHY and the cable are all rated for that rate.
Why does the panel stay black when the DSI link reports no errors?
A healthy link only means packets are being decoded. A dark panel usually means the init script never executed, executed before the supplies were stable, or landed in the wrong power state so the sleep-out write was ignored. Capture the init bytes on the wire and compare them with the supplier's script before suspecting the PHY settings.
Is the tearing-effect signal worth wiring in a VR headset?
It usually is. In command mode the panel scans out on its own schedule, so writing a frame without reference to that schedule produces a visible seam. Feeding the tearing-effect signal back to the host, or designating one eye as the timing master and phasing the other to it, removes that class of defect without any change to the optics or the mechanics.